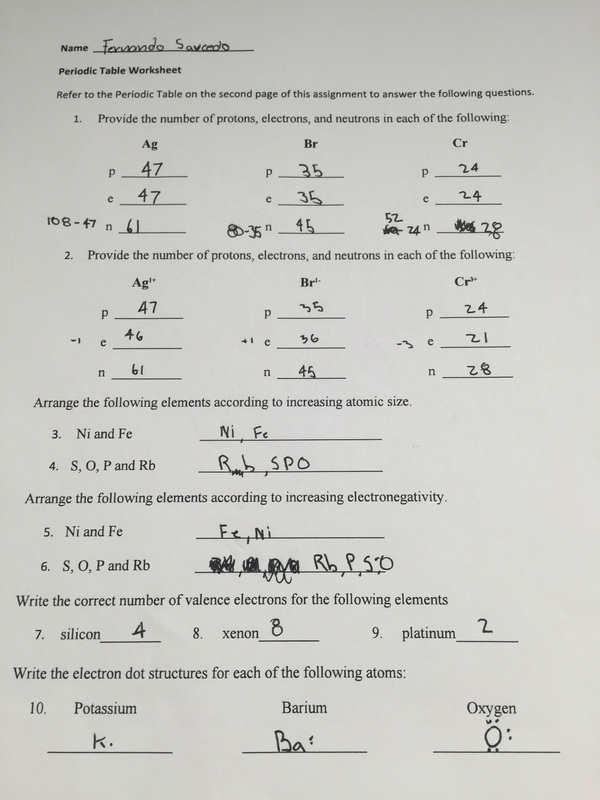
This worksheet was pretty easy after being showed an example I quickly understood how to do it and had really no trouble.
|
|
|
This worksheet was pretty easy after being showed an example I quickly understood how to do it and had really no trouble.
0 Comments
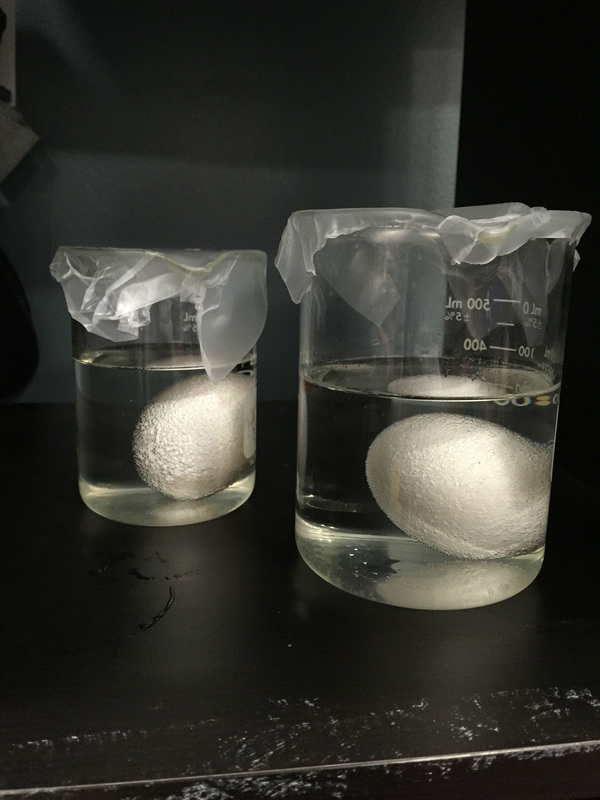
So for this lab we deiced to put a egg in a cup and add vinegar to it to watch the reaction. The science behind this experiment was pretty straight forward its used to witness the importance of calcium for healthy teeth and bones. And how our bones and teeth become after the egg is put to testing. The vinegar reacts with the eggshells calcium. Because the vinegar is a mild acid. The eggshells solid calcium carbonate crystal makes and holds the shell together. When it hits soak in the vinegar, the acid breaks up the calcium. When is breaks it up the shell then begins to free itself and floats above the egg. Then leaving the egg to be rubbery. The steps for this were also really simple place the egg in glass make sure its empty, pour the vinegar inside covering the egg all the way, wait several days and take the egg out of the vinegar. We have to wait out a couple of days and make sure the egg is not disturbed, so you can get the results you will want. We used
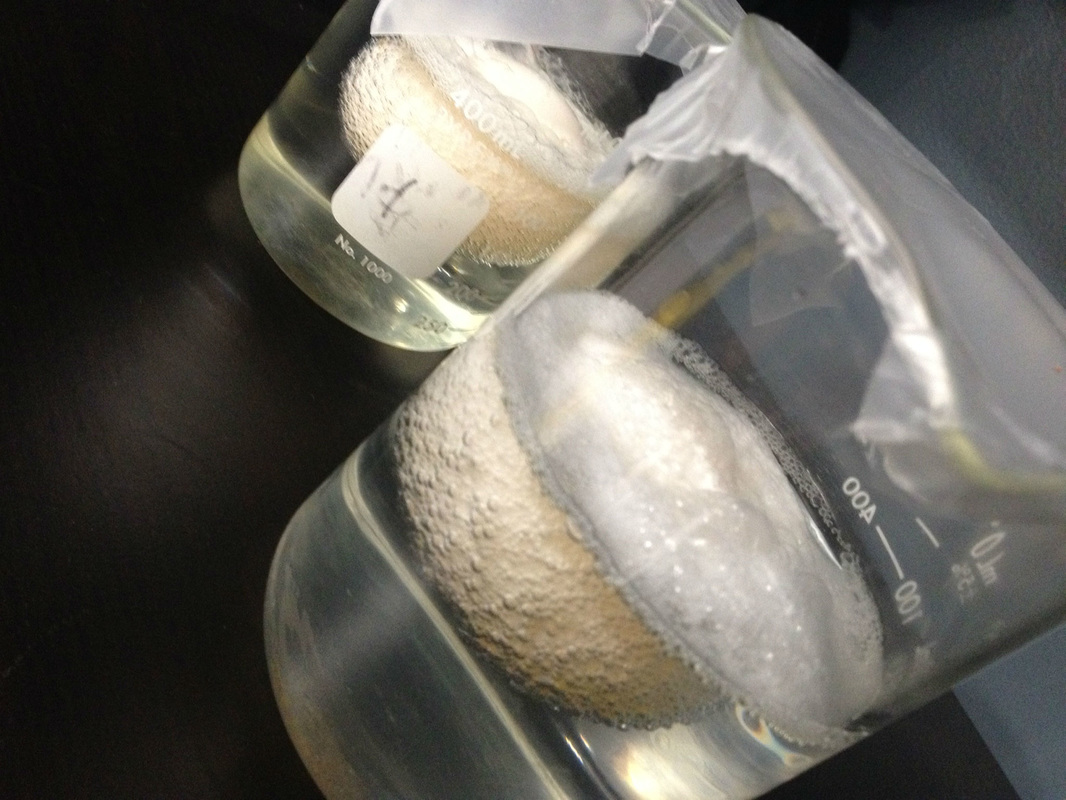
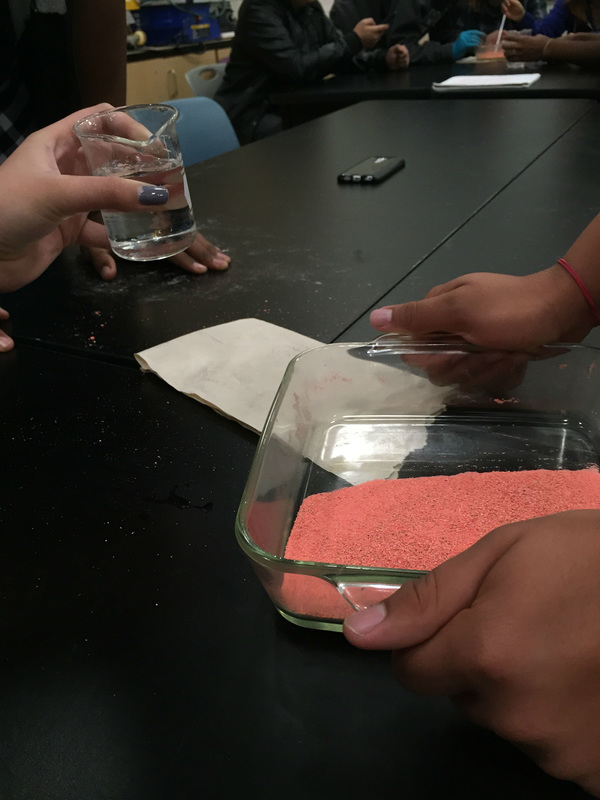
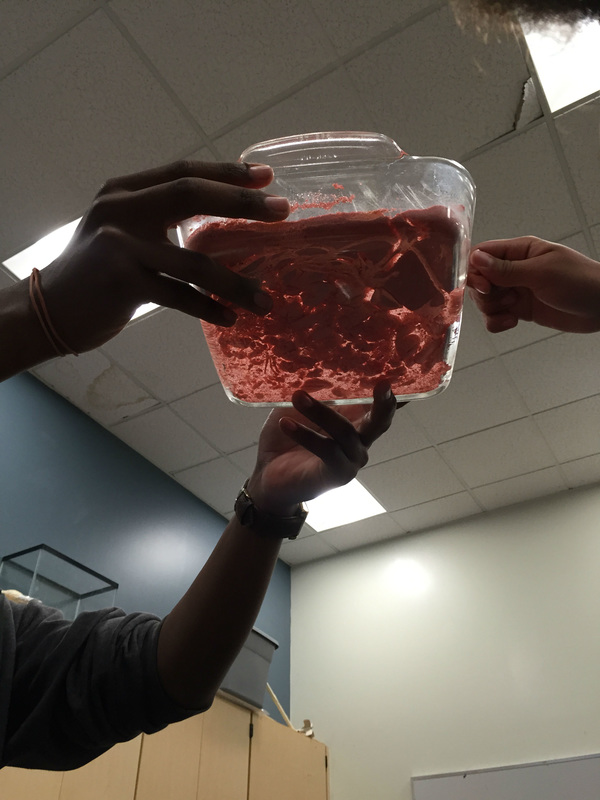
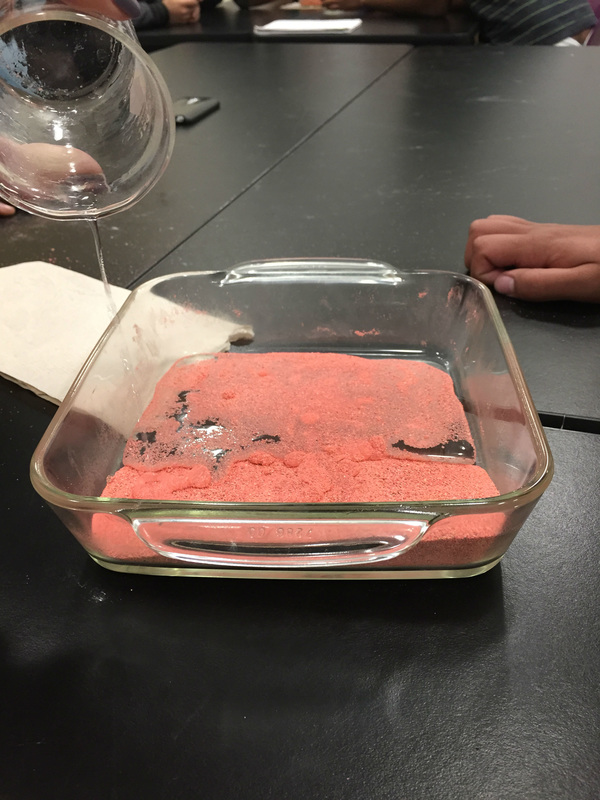
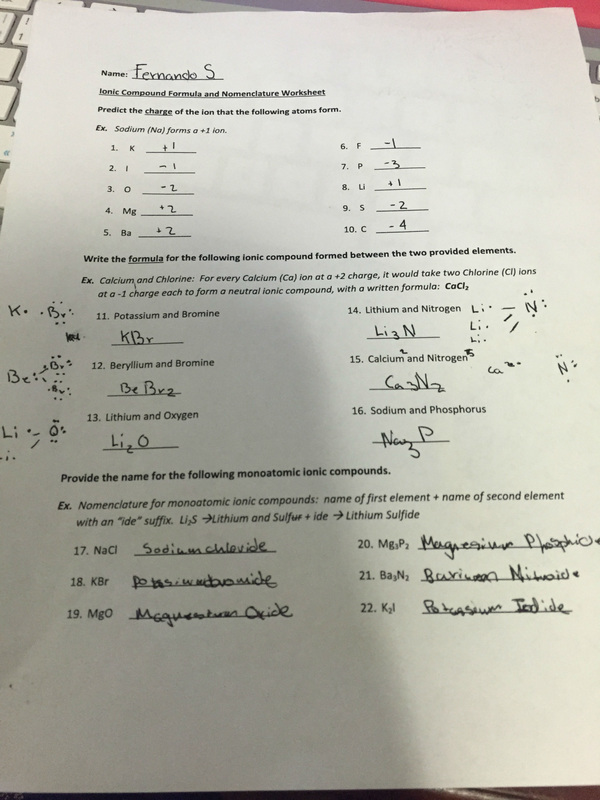
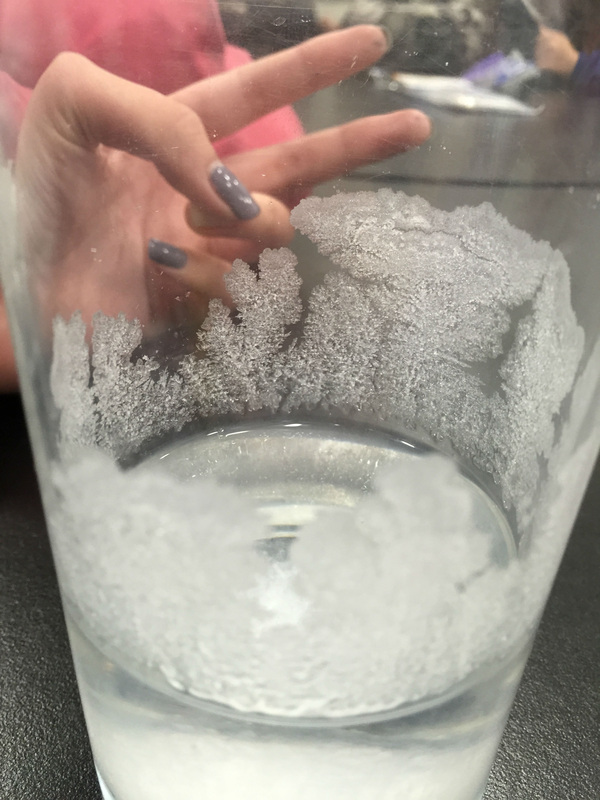
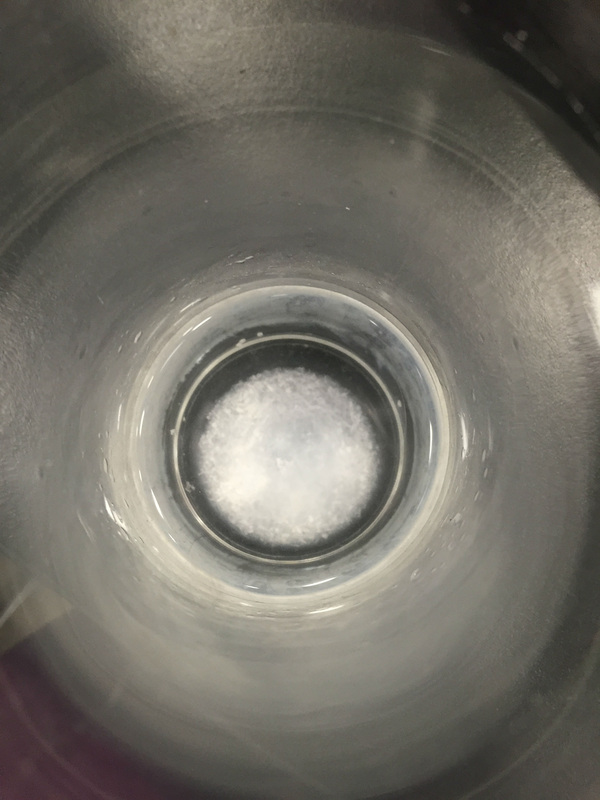
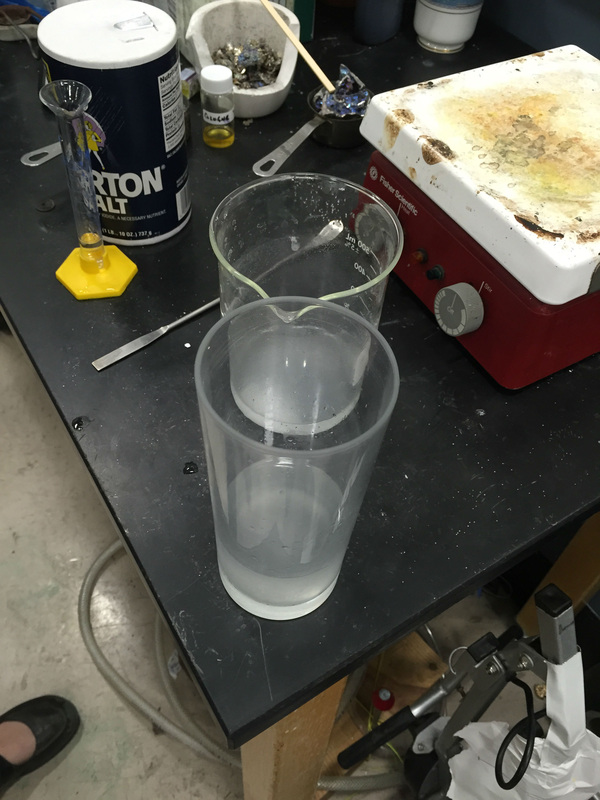
Safety is a really big part in chemistry but for this project there really isn't anything harmful in the beginning since we are dealing with an egg and vinegar. But throughout the project there could be a chemical exposure with the vinegar and egg so we will used gloves at all times so we wouldn't catch anything. Over all this lab went great, I noticed the eggs were getting a weird shape and off color from the original and the smell it was giving was bad but those are just some steps it goes through over time and whats supposed to happen in the process of this lab. My partner and I worked worked really well and fast and got all of our work dine fast and safe I wouldn't change anything different. This lab was really interesting view the type pf reaction it gives and you really observe when you pay attention to everything going on. So for this experiment we used materials that are around the class which are: Cardboard Pennies Zinc Vinegar Foil LED light So for this we took 6 pennies and 10 round shaped pieces of cardboard and a beaker with vinegar. We took sand paper and used it to scrape one side of the pennies to remove the copper on that side. After all the pennies were done we took the cardboard pieces and dropped them vinegar. We padded zinc on top of tin foil and stacked cardboard and pennies one after another. After stacking we took a LED light and put the positive side on the tin foil and the negative on the penny that was on the stack. The science behind is a little confusing but batteries are created to move electrons to one another. The current of electrons is going through the electrolyte and through the positive and negative charge. Zinc and the pennies scraped side is the negative charge. And then our positive charge is the rest of the penny with the copper. The cardboard put in vinegar are electrolytes. Without electrolytes its not able to carry electrical energy to help the electricity of the battery. The zinc and copper become the positive and negative electrons creating a circuit when you add the LED light. We ended up getting great results from our battery. Overall this experiment was really fun and I learned a lot about elements having different attractions to electrons. I wouldn't mind learning more about this in the future I think its a interesting subject to get into. My group worked really great and from that we got results that we were looking for. Having no troubles was really nice and having everything go the way you want them always makes a lab 10 times better. 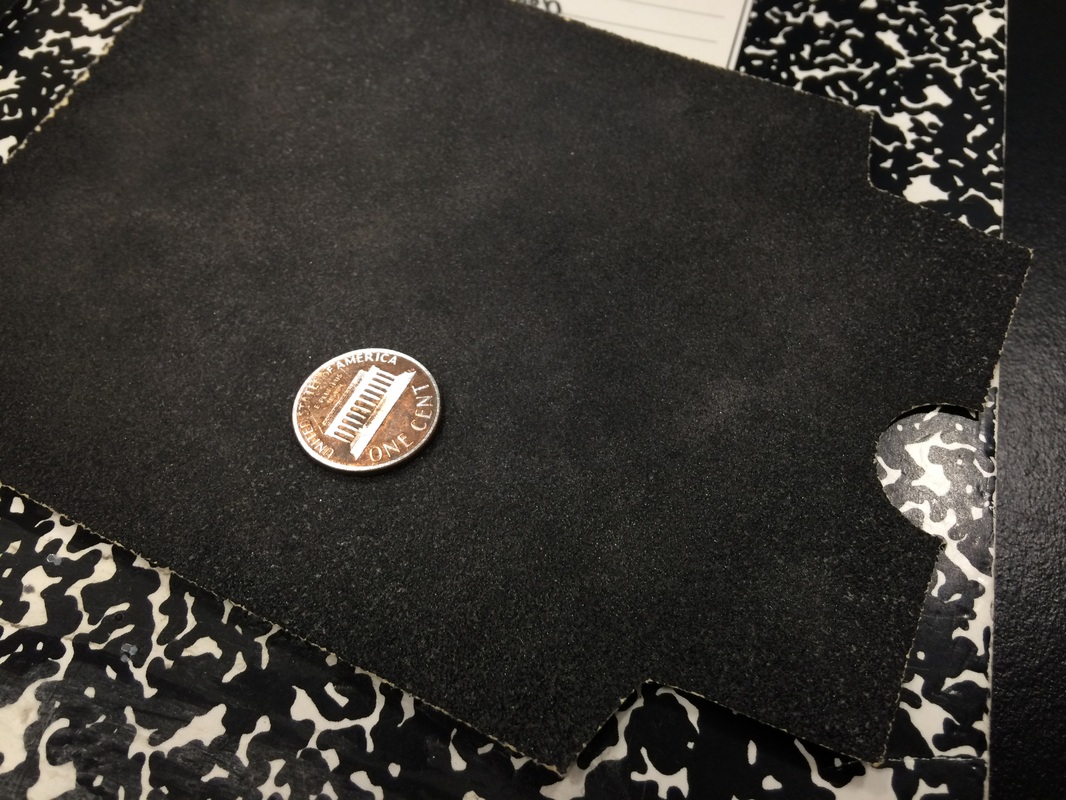 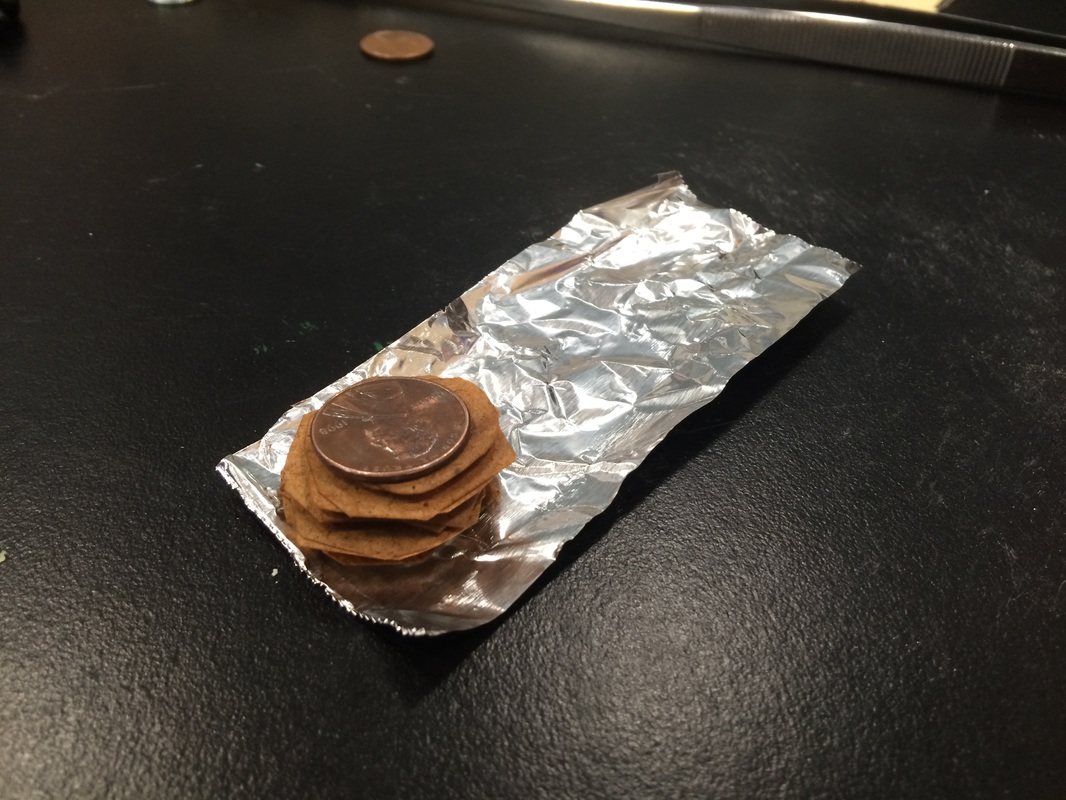 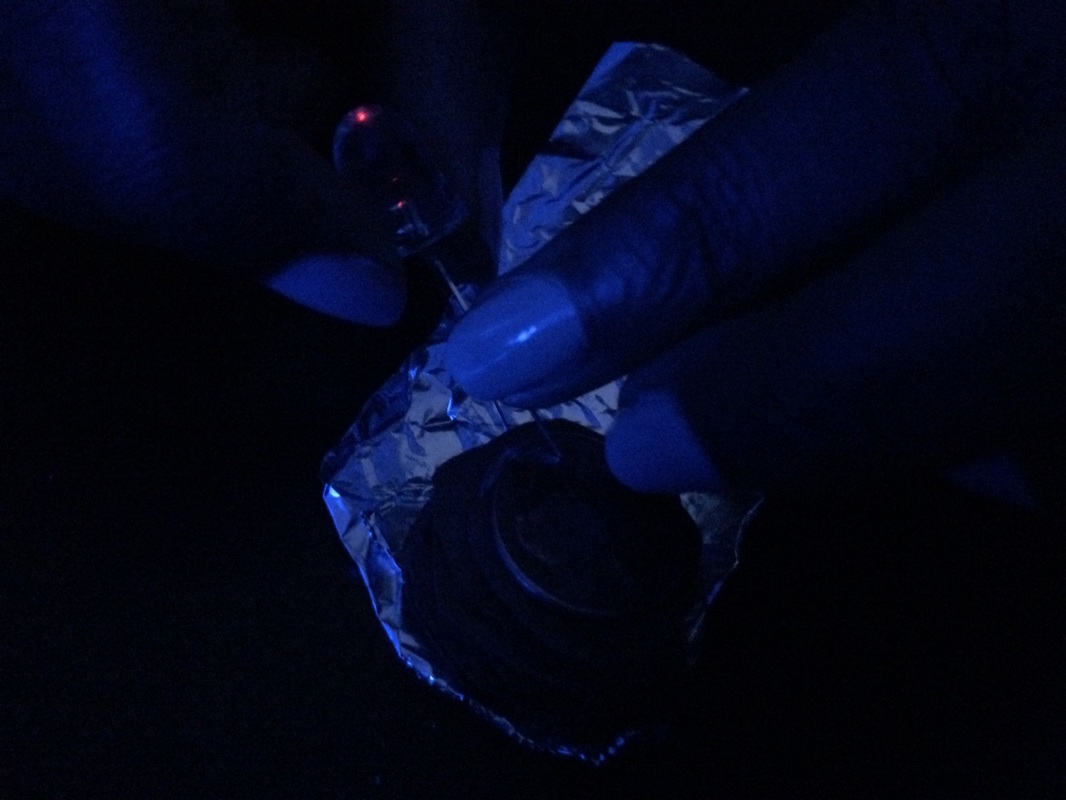 So for this lab what we did was to create waterproof sand. It was something new brought to us and I like trying new things so i was really interested when Andrew told us about this and I was really to see what our outcome was going to be like at the end and if this could actually be pulled off. Tiyonna Clark & Fernando Saucedo Lightning Experiment This worksheet was about ions and different type of elements. An ion is an element with a positive or negative net charge.The two Ions are a cation and a anion.I then showed electron dot structures showing the outer shell putting two electrons together. 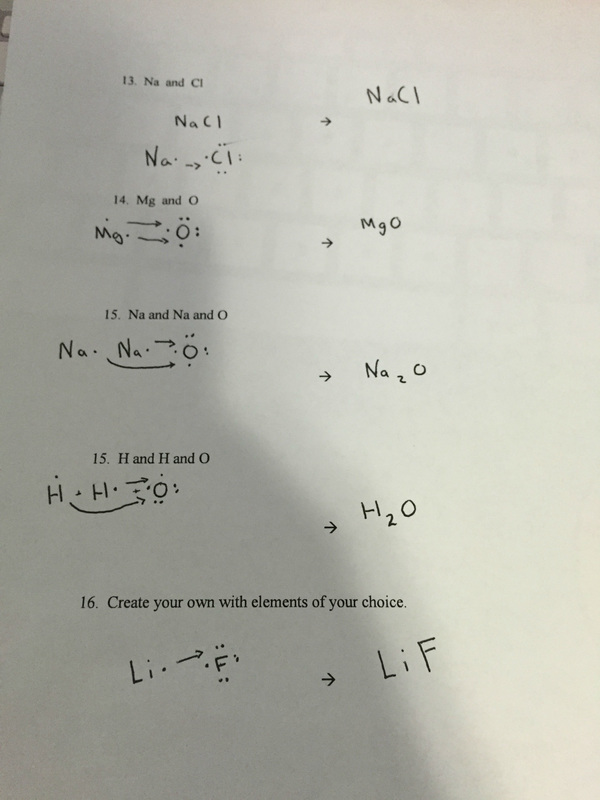 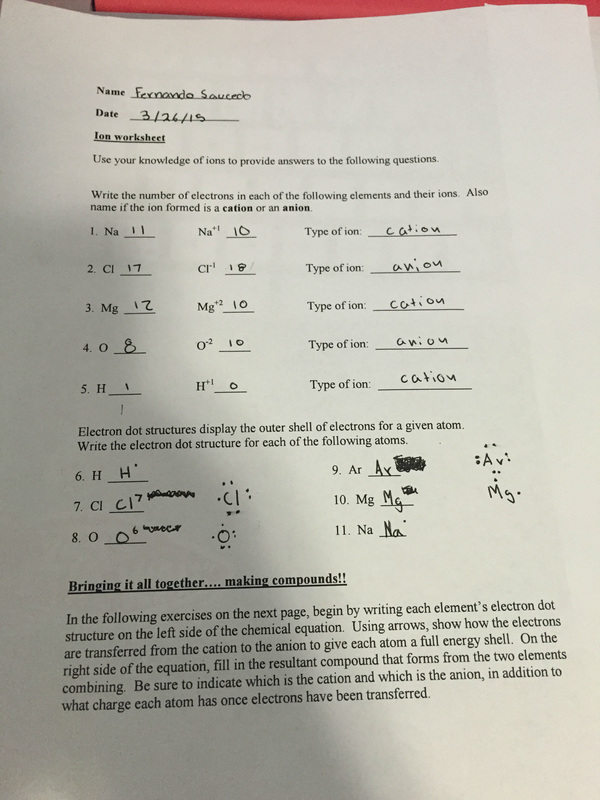 So for my crystallization I used NaCI which is Salt as my Ionic compound to get my results. Table Salt is a very common household item and also a very common Ionic compound since you can find it anywhere so that's what I used. Looking Back: So far my crystals are coming out the way I wanted them to come out. The crystals are growing onto the side of the glass slowly coming together, there not as big right now but you can see them growing and growing and its really interesting that they actually grow. They look like little trees growing together. Looking Beyond: When creating crystallization from Ionic compounds, once you boil the ionic compound the water starts to evaporate and the molecules start to form a type of stack on top of each other. Looking Inward: For my first time doing this experiment it was a really good experience, Learned something new and it was really interesting. The final product was really cool not know how it was going to come out from it like a surprise. learning about Ionic compounds and what table salt can cause and create. Looking Outward: During this experiment I worked on my own because I just wanted learn stuff on my own and have a good experience. Im glad I worked on my own because I got more out of it. Looking Forward: If I did this again, I think I would do the same all over because I got the results I wanted and everything went smooth and we didn't have any troubles during the whole time of creating crystals. I'm glad how my crystals started to form its really interesting. Take Aways: I learned to believe in myself more and telling myself to not stress on getting this done and move on because crystals take time to form and I used to be always rushing to move on But I paste myself and take my time to finish something. 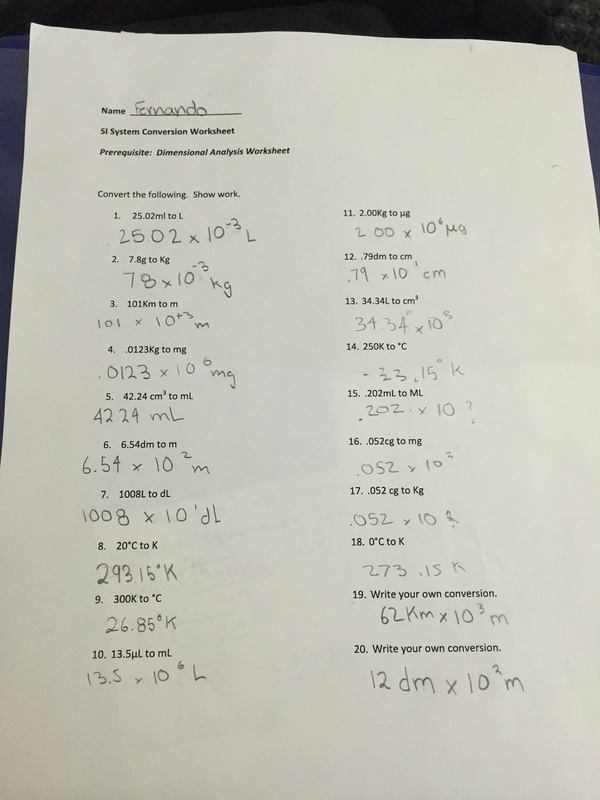
So this work sheet took me a while to understand and really get going because I don't really understand conversion and I wasn't here for the explanation so I was really lost but if I don't get to doing these work sheet I'll never learn. So I had to ask for help from classmates to explain to me and help me understand So I tried my best to understand but I still need more help figuring out certain things.
So for this experiment we had to learn a little more information about the periodic table and RXNS. RXN is just a different way for saying reaction. Most useful and common RXN has to be and always has been fire. We wouldn't have control of heat, power, and cars. So to start off the periodic table is for knowing how many protons, neutrons, an element has in it. Used to know how many electrons an atom needs or if it will have to give away an RXN. So the day we tested our rocket motors was Thursday and I was really excited to see how ours turned out. It was sunny and nice outside so it was perfect Andrew had a little setup for the motor so he placed the motor and he lit the fuse from the bottom and so much smoke started spraying out the bottom and a pretty load noise of all the pressure rushing out the bottom. So we created our engines on Monday using small piece of pvc pipe and the fuel was made out of Potassium Nitrate and Sorbitol. To create the fuel we had to mix the two in a beaker on a hot plate and when it was near liquid we poured it into the pipe. After it was cooled down we added cement on the bottom. Having a equal and opposite reaction the pressure is forced to want to leave. The fuel reacts to the fire making it to go crazy and create pressure and once you drill in the small hole in the bottom all that pressure has only one way to escape. I think our group got the results we wanted because everything work really good and we had no problems during the making of the rocket motor lab and we all had a fun time during this and learning about something new. My group is really nice and cool we never have problems and we always try and figure everything together since we our a group an I think we work really well. And our outcome of the lab was great so I'm happy with us. I wouldn't change anything since we did pretty good with the rocket motor and I can see myself with this group again since we did a good job. And I guess if I wanted to continue and can create rockets to move forward the these motors and learn more about them. What I got out of this was more of the making and the science behind it. You have to really pay attention to everything to figure out how they work and what is need and what causes everything so if I wanted to go further I would need to learn even more about rockets and the science behind it to move on to something else. |
Archives
May 2015
Categories |
 RSS Feed
